
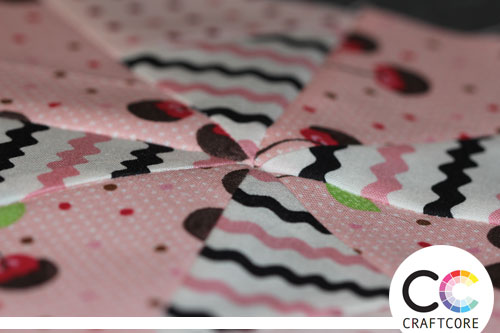
Once upon a time I was a newbie quilter who made her first ever set of pinwheels out of adorable black and red fabric. The pinwheels were adorable in theory, but the mismatched points were glaringly unsightly. Enter the humble button, which saved my first attempts from being seam ripped or ignored and gave them new life.
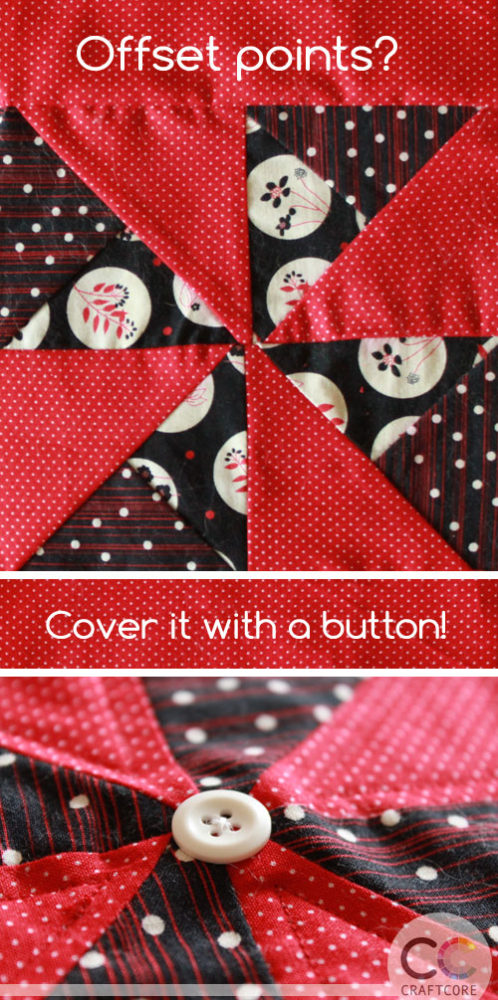
There, that’s much better!
I made these pinwheels as a test, then set them aside. I eventually came across them again and decided to repurpose them into a small tote bag to use while travelling on the train. I wanted to be able to put my lunch at the base of the bag but still have plenty of room for a book and miscellaneous items.

This tutorial is a two-parter. First, we’ll need to create the 7″ finished (7.5″ unfinished) double pinwheel. Second, we’ll need to create the bag itself.
Part 1: How to Make a 7″ Double Pinwheel
Now, as I mentioned earlier, the two pinwheels featured on this bag were made long before this bag was made. I didn’t take photos of those particular pinwheels, so I hope you don’t mind that the pinwheel section of this tutorial is using some pink fabrics I had on hand.
We are going to make the pinwheels using the quarter square triangle method outlined on the Craftcore HST and QST Guide.
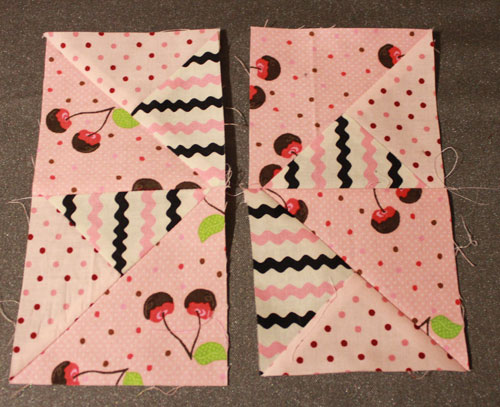
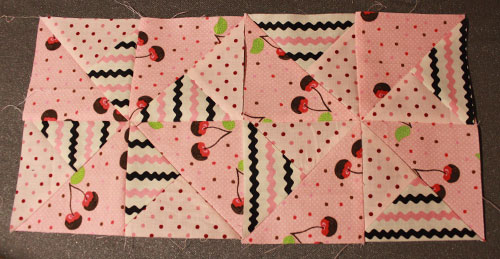
By following the method in this tutorial, you will create two similar but not identical double pinwheels as illustrated below.
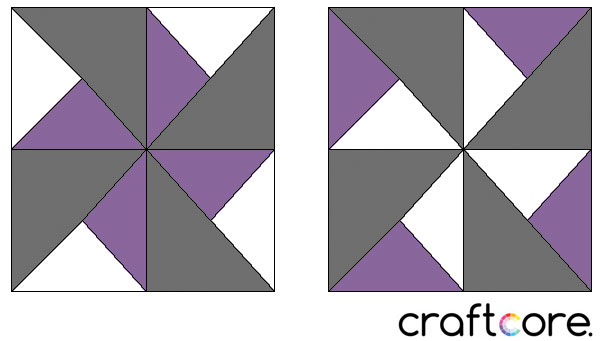
- Cut out 4 squares, 4 3/8″ each. Cut these in half diagonally, forming 8 triangles. This fabric is represented by grey in the above diagram.
- Cut out 4 squares, 4 3/4″ each, from 2 different fabrics (8 squares total).
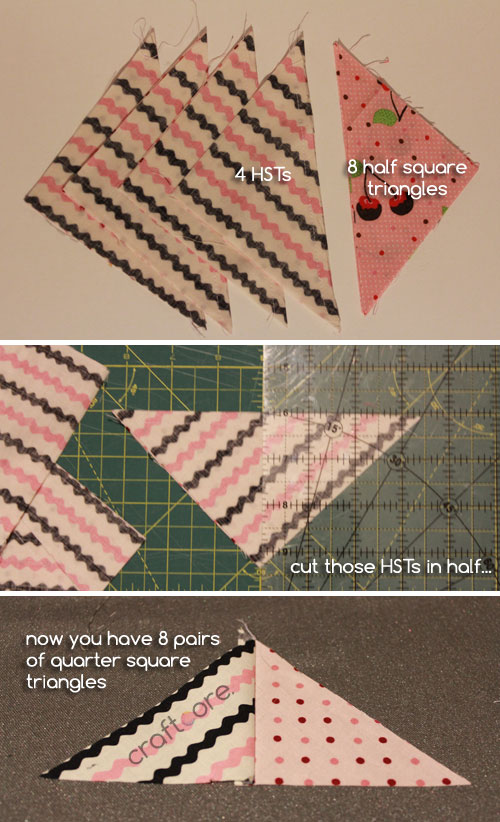
- For exact step-by-step instructions of how to create pairs of half square triangles, please refer to the How to Assemble a QST Unit section of the Craftcore HST and QST Guide. Here is the basic flow: Pair one fabric square (represented by purple in the above diagram) with one fabric square (represented by white in the above diagram), and stack them right sides together. Draw a line diagonally from corner to corner then sew an exact 1/4″ inch along both sides of the line. Cut along the drawn line. Then draw a line from the exact middle of the long end of this pieced triangle to the point exactly opposite and cut along that line. This will create a two pairs of joined half square triangles. Repeat x 4.
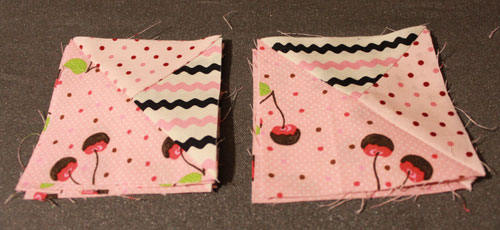
- Using a 1/4″ seam, sew one QST pair to one half square triangle. You can chain piece to make this process faster:
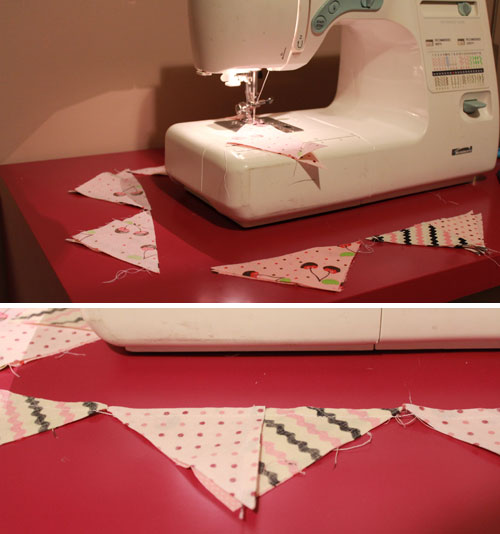
You’ll now have 4 pairs of each design:
- Layout your design like below:

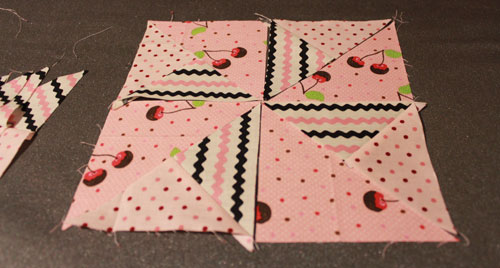
- Clip off the little dog ears sticking out from your blocks. Sew one column/row at a time making two halves using a 1/4″ seam:
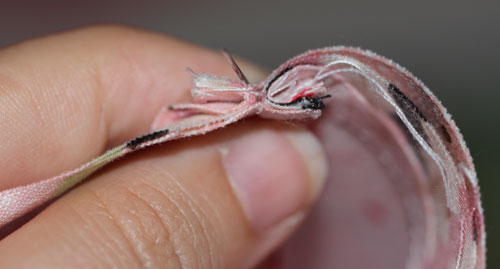
- To help make perfect points, press one seam to the left and one seam to the right. You can nest them so they appear like they do below, then pin in place. Sew those two halves together. If it’s not perfect, you can cover with a button for this project, so no pressure!
You’ll now have two 7.5″ unfinished double pinwheel blocks that you can use to create the Tall & Skinny Tote Bag.
1 thought on “How to Make a Tall & Skinny Pinwheel Tote Bag”