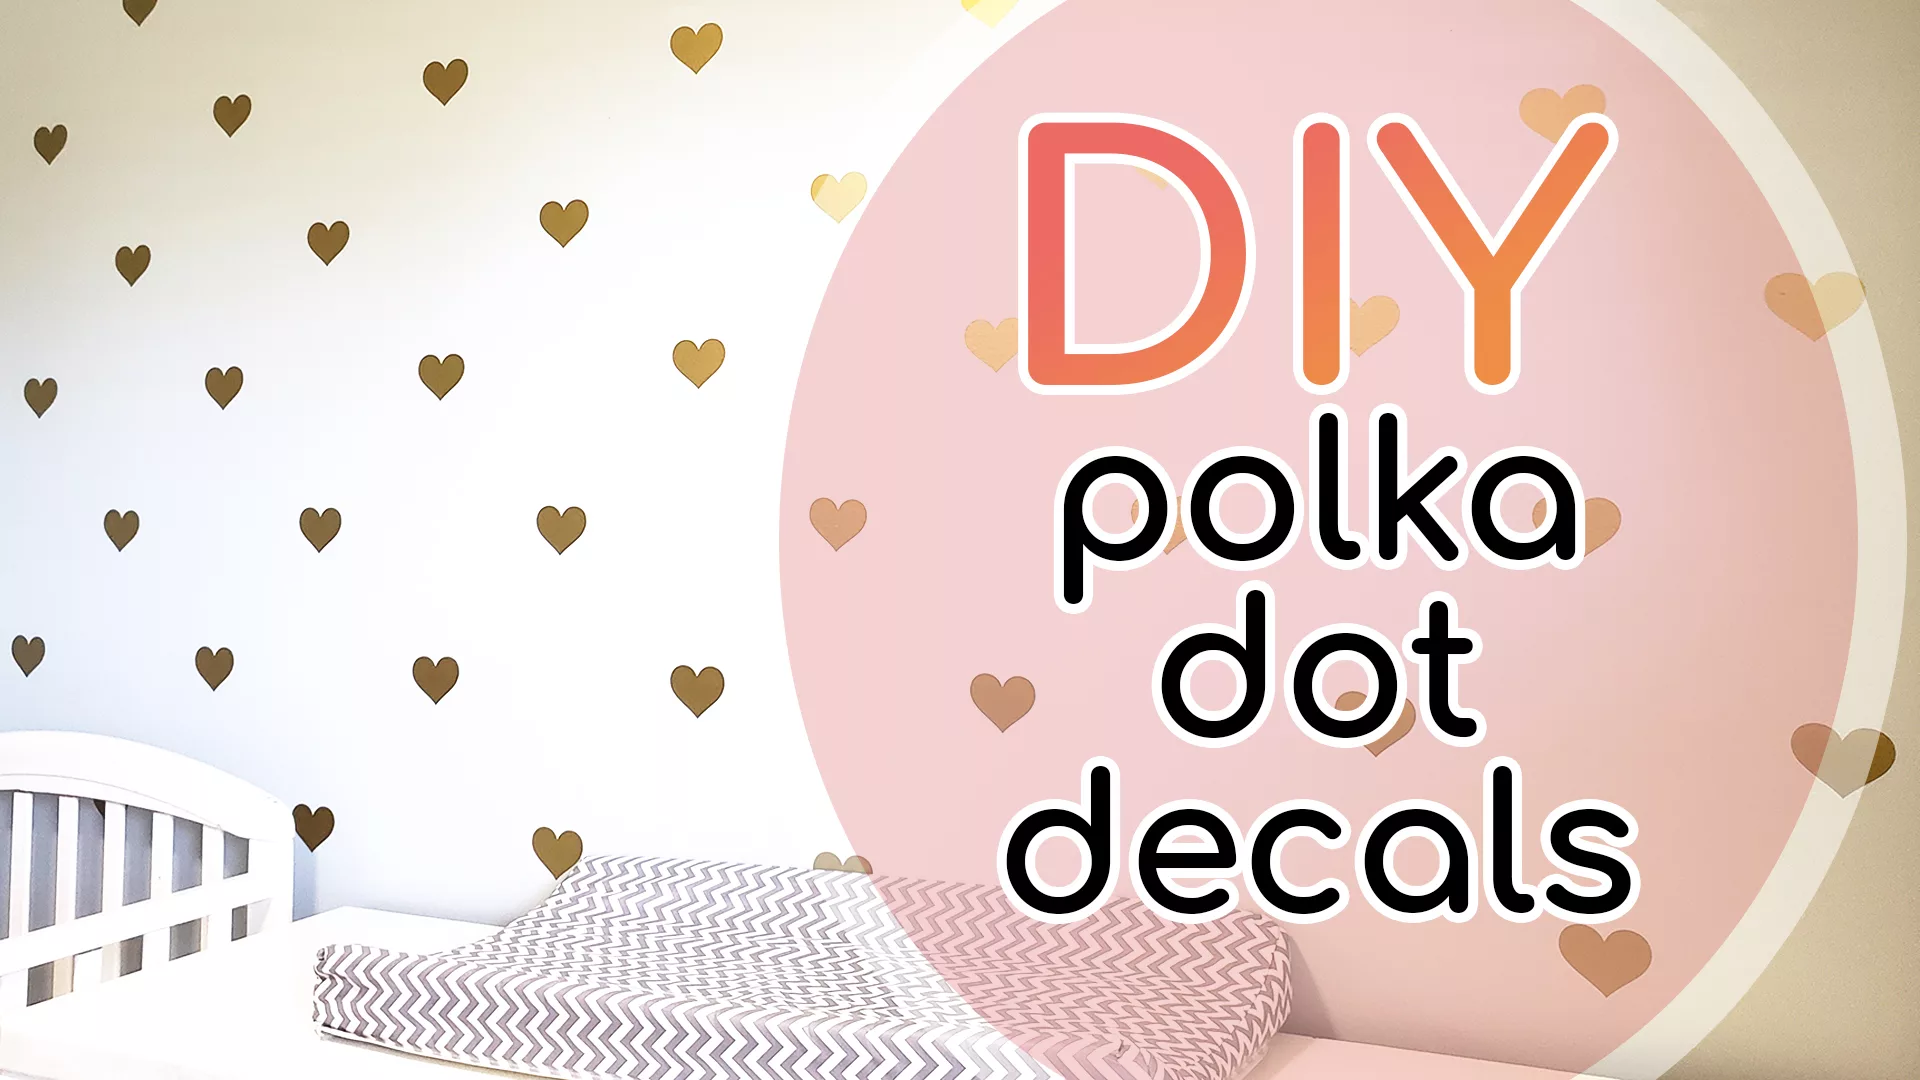
Today I’ll show you how to use a template to evenly space decals into a polka dot grid pattern.
Watch This Tutorial:
For this project, you’ll need:
- Vinyl Cutting Machine like the Cricut Maker
- a removable vinyl like Oracal 631.
- Transfer tape
- Cardboard for making a template
- Plastic Scraper or a credit card
- Pencil
- Scissors
You can use a Cricut, Silhouette, or similar vinyl cutting tool to cut out your decals, or you can buy premade ones. The amount of decals you’ll need depends on the width and height of the wall area you want to decorate, plus how much distance you’d like between your decals. I estimated I’d need about 60 hearts for my half wall if I spaced my hearts 14 inches apart.
I used the Cricut Maker to make my heart shaped decals, so I’ll briefly show you how I did it. I don’t have the Cricut Access membership at the moment, so I found a basic heart SVG for free online from Chicfetti.
I imported the heart SVG into my Cricut Design Space canvas. Use CTRL-C to copy, then paste with CTRL-V as many times as you’d like for the amount of decals you’ll need to fill a cutting mat. You may want to reduce or increase the size of your decal to better fit your mat if reducing waste is important to you. I resized the heart to 2.75” wide so that I could fit 16 hearts per mat.
I cut the vinyl to 12 inches by 10 inches to match the preview mat size, then sent it to the Cricut for cutting.
Cut out as many sheets as you need for your wall. I cut 4 sheets.
So once you have your sheets of decals, you’ll need to prepare some rectangles of transfer tape. We’ll be applying transfer tape to the top of the decals so that we can move the decals from the backing paper to the wall without touching the adhesive. You can reuse the transfer tape until it isn’t sticky anymore. Cut out a few rectangles that are a bit bigger than the size of one of your shapes. I used 3 rectangles of Silhouette brand transfer tape for 60 heart decals.
Peel off the backing of the cut transfer tape and stick it over one of your decals. Use the scraper to press the tape securely.
When you peel the tape, the decal should come up, and now it will be easy to apply it to the wall.
Decide how far apart the decals should be in each row. So if you want the decals to be spaced 14 inches apart, you would make a 14 inch square out of cardboard to use as a spacing template. Next, you need to pierce a hole in the centre of the cardboard. You can put a diagonal line from each corner to determine the exact centre easily. Use a pencil or pen to pierce the hole.
Put your template into the top left corner of the wall, and use a pencil to make a mark through the centre hole and at the bottom right corner. Then move the template, lining up the bottom right dot of the previous position with the bottom left of the template. Mark the centre and right corner again. Repeat this process along the top of the wall, then move to the next row. I’d recommend watching the video I shared about for the visual directions.
If your template doesn’t fit evenly into the wall by the time you reach the left side, you may need to fold or trim your template to fit it into the wall. In my case, my final column had a width of 12 inches instead of 14, so once I had marked all the other positions, I trimmed down the template along the right edge.
Now that the wall has been marked out, it’s time to apply the decals.
Take a rectangle of transfer tape, backing peeled off, and place it over a decal. Use the scraper to press the tape securely to the top of the decal. Peel the transfer tape, and both the decal and the transfer tape should come away from the vinyl’s backing paper.
Place the decal on the wall where you’ve marked in pencil. I lined up each of my decals with the inner point of the heart on the pencil dot. You could centre the decals, or align with a certain edge – whatever works for your design. Whatever you line it up with, you’ll want to make sure that you align against the same position so that everything stays evenly spaced.
Lightly press the decal into position holding the edges of the transfer tape, not the decal itself. If you’re happy with it, use your scraper to secure it to the wall and push out any bubbles.
Peel off the transfer tape and admire your gorgeous decal application.
The transfer tape will still be sticky, so reuse it again and again until it’s not sticky anymore.
Apply your decals row by row until you’ve completed your polka dot placement.
Wall Decal Tips and Tricks
Something to keep in mind is that the vinyl will show all the lumps and bumps in your wall, so be sure to prep your wall and clean it before applying any wall stickers or decals.
I mentioned this earlier as well, but you’ll also want to make sure that your paint is fully cured so you don’t damage your walls. Check your paint can’s instructions if you’ve painted recently.
How to Estimate How Many Decals You’ll Need to Fill a Wall
- Measure the width and height of your wall.
- Decide how far apart you’d like your decals to be spaced in each row. We’ll call this the Spacing measurement.
- Value A: Determine How Many Decals Fit in Even Rows:
- Take the Width measurement and divide it by the Spacing measurement. If it doesn’t divide evenly, round up.
- Value B: Determine How Many Decals Fit in Odd Rows:
- Take Value A and subtract 1.
- Value C: Determine How Many Rows of Templates You’ll Need to Fill the Wall:
- Take the Height measurement and divide it by the Spacing measurement. If it doesn’t divide evenly, round up.
- Value D: Number of Decals
- Multiply Value A by Value C.
- Then multiply Value B by Value C.
- Add these two results together and you’ve got your estimate!
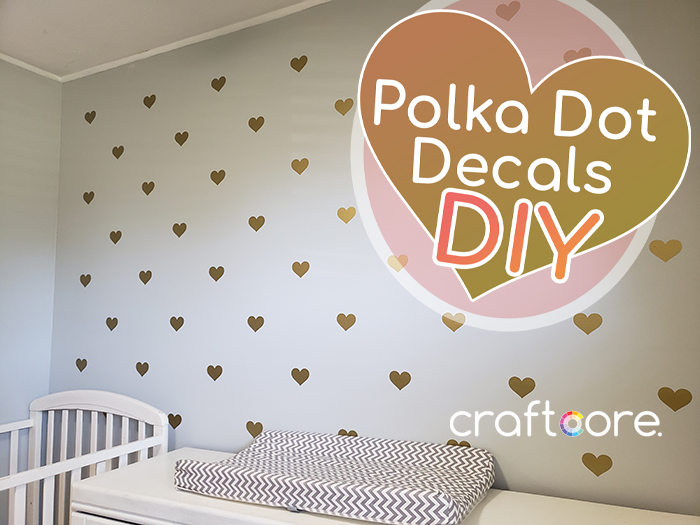
I’m so pleased with how this accent wall turned out that I’m seriously tempted to change it from an accent wall to a full four-wall design. Please let me know if you think I should do the other 3 walls or if I should just stick with this wall as is in the comments.