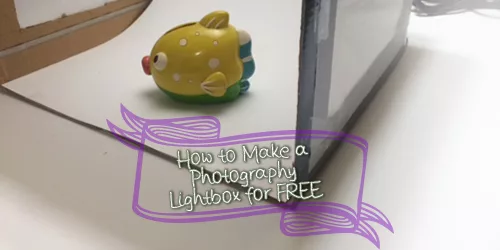
A sharp white background behind a photographed object can turn a snapshot into something more professional – even if the object is photographed with just a smart phone. The use of a lightbox can help create a seamless white background with few shadows. Best of all, you can easily make it with stuff around your house in a short amount of time.
What You Need:
- Cardboard Box
- Box Cutter / X-acto knife
- Tissue Paper
- Tape
- Ruler
- Pencil
- Lamps / light source
- Scissors
- Matte poster board / sturdy paper approximately twice as long as the box depth
Our goal is to create a box with three windows: one facing towards the ceiling, one facing towards the left, and one facing towards the right. Tissue paper will diffuse the light coming in these windows, and a sloping surface inside the box will give your stock photography a smooth backdrop.
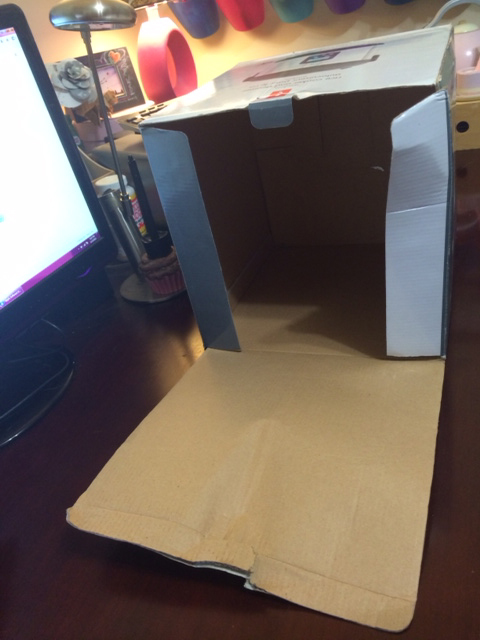
- Orient the cardboard box on one of its sides, with the top opening facing you. Cut off the flaps.
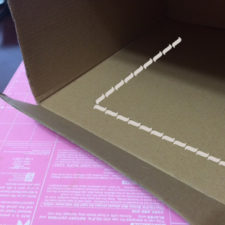
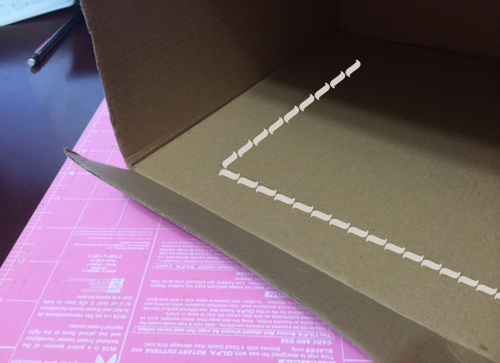
Using a ruler and pencil, mark out a rectangle approximately one inch from each edge of the bottom.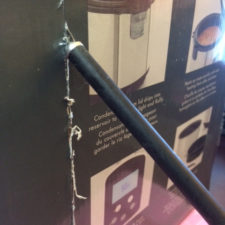
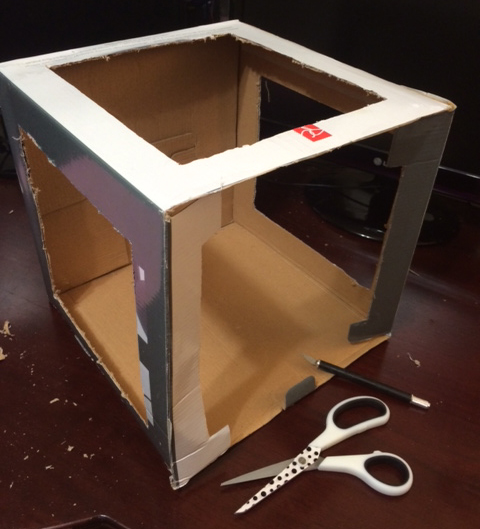
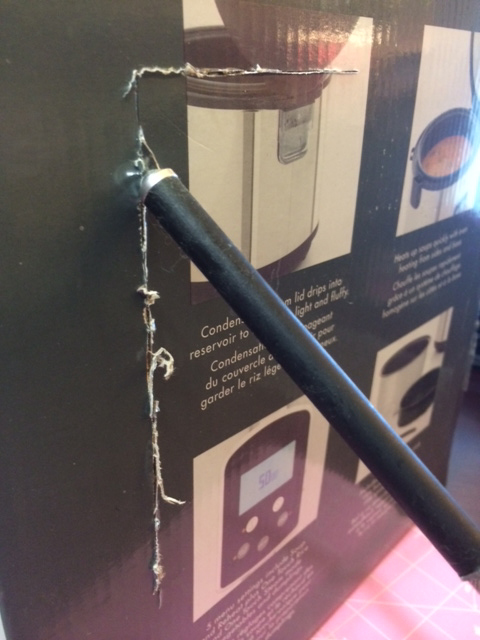
Using a box cutter or x-acto knife, carefully cut out the window and pop it out. Always cut away from yourself and protect your digits and work surfaces.- Repeat for the two other sides until you have a cardboard box frame like this:
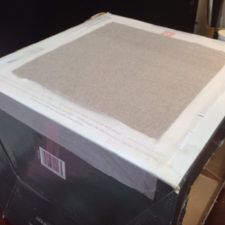
Cut out tissue and tape it in place over each of the three windows. Make sure you smooth out any wrinkles to reduce potential shadows.- Take the piece of poster paper (make sure it’s not shiny) and tape it to the back top edge of your frame. Tape the other edge to the front base to make a smooth slope. Note that the tissue is very fragile, so be sure not to rip it with the edge of the poster when getting everything lined up.
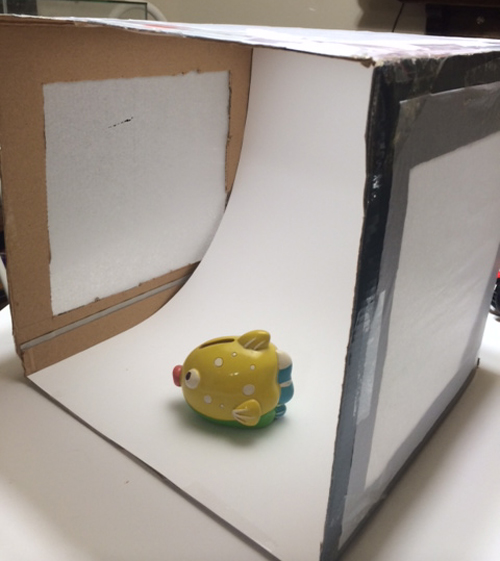

You can place a lamp on either side or hang a lamp above. I have a really bright light hanging above my kitchen table, and it worked really well diffused by the tissue paper.
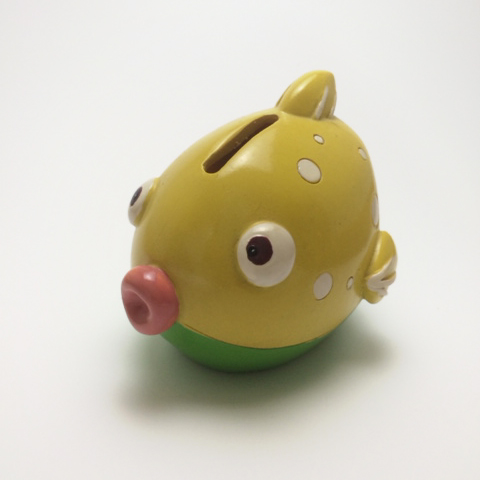
Here is a comparison of a photo taken with the same camera (an iPhone, not an fully-featured camera). The left is without the lightbox, and the right is with the lightbox. Ignoring the fact that there is random stuff in the background on the first photo, you’ll notice that the shadows are a lot softer when the light is diffused by the tissue paper.
