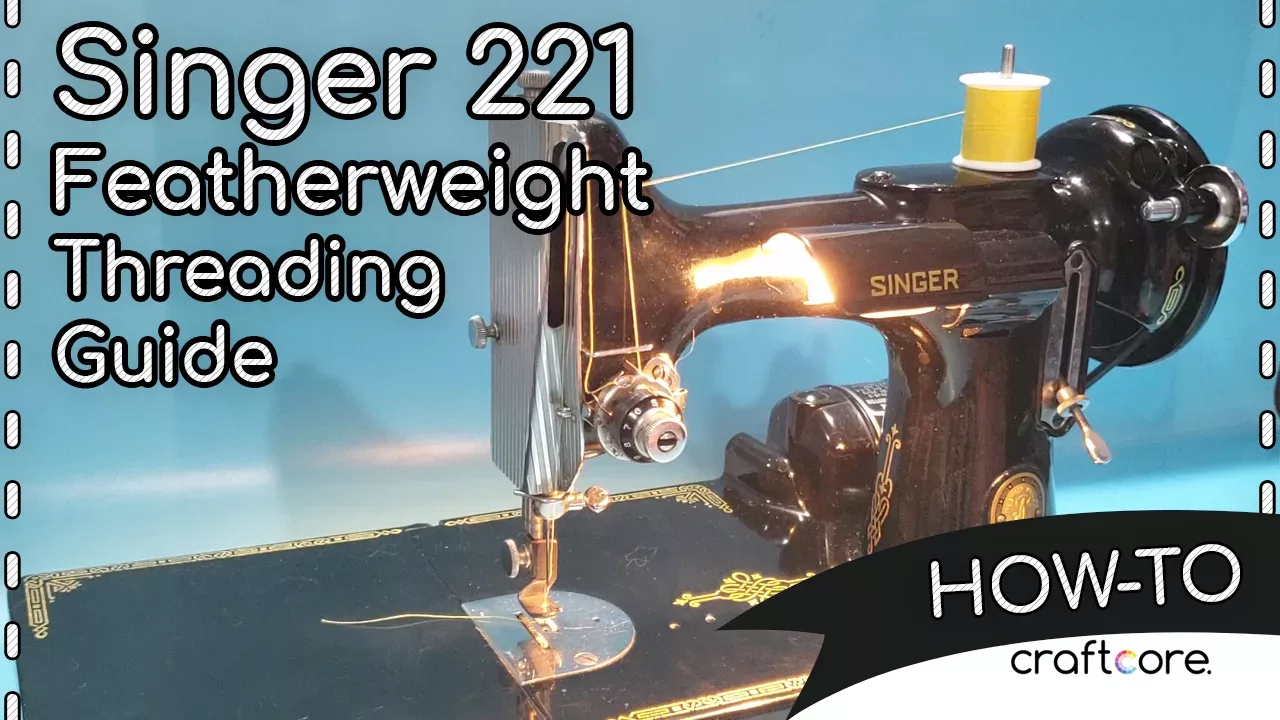
I’ve previously written about the Singer Featherweight on this blog, explaining how I came across the two different models. However, I never touched upon how to use the machine, which is why today I’m sharing this video, my Singer 221 Featherweight Threading Guide, that teaches you how to thread the Featherweight.
Video: How to Thread the Singer 221 Featherweight
The video below can also be viewed directly on my YouTube channel here.
I’ve divided the Singer Featherweight video above into the following topics:
- How to Remove the Bobbin
- How to Wind the Bobbin
- How to Insert the Bobbin
- How to Thread the Machine
- How to Sew
- How to Adjust the Stitch Length and How to Stitch in Reverse
I hope that this threading guide will help you get started with your Singer Featherweight. I absolutely love mine for piecing quilts everywhere in my home. I’ll include a transcription of the video below, but please note that this was written with the video in mind. Enjoy! 💜
Winding the Bobbin:

Let’s start with the bobbin winding process. Make sure you’re using a bobbin meant for the 221 or 301.
How to Remove the Bobbin
Make sure that the take up lever is at its highest point, then access the bobbin case by folding up the bed of the machine. Pull out the bobbin case by its metal lever. Keep a hold of the lever while you pull it out to make sure that the bobbin stays in place. When you let go of the lever, the bobbin will easily fall out.
How to Wind the Bobbin
First you need to disengage the hand wheel so that the needle bar won’t go up and down: Hold the balance wheel with your left hand and use your right hand to turn the stop motion screw towards you.
Now when you press the foot pedal only the hand wheel will spin, not the stop motion screw and thus not the needle bar. Yay!
Put a spool of thread on the spool pin and draw the thread towards the thread guide. Continue to draw the thread down between the tension discs then up towards the bobbin winder. Grab one of your 221 bobbins and feed the thread through one of the holes on the left side of the bobbin from the middle.
Slide the bobbin onto the bobbin winder and pull down the winder so it’s pressed against the belt. Engage the foot pedal and once the thread has been wound a few times go ahead and snip off the tail.
Reengage the foot pedal and keep winding until it’s as full as you like. Make sure you don’t overfill it.
Put the bobbin winder back into the original position once it’s full, remove the bobbin, and snip the thread.
To put the machine back into standard sewing mode, lift the bobbin winder back into the up position and remove the bobbin, then hold the handwheel and turn the screw towards the back of the machine.
How to Insert the Bobbin
Arrange your bobbin so that the tail of thread is coming out from right to left, hanging down the left side. Hold the bobbin case so that the little groove is on the left hand side. Place the bobbin inside the bobbin case and lead the tail of thread through the groove and behind the tension spring, and finally between the slot at the end. Leave a tail.
Push the bobbin case into place, lining up the positioning finger into the notch at the top.
Threading

If you’ve used other Singer sewing machines, this process will be familiar. Start by turning the handwheel so that the take up lever is at the highest point.
- Place a spool of thread on the spool pin and lead the thread across to the thread guide.
- Hold the thread taught and lead the thread down between the tension discs.
- Pull the thread up under the take-up spring until it enters the retaining fork.
- Then pass the thread up behind the thread guide.
- Insert the thread from right to left through hole in the take up lever.
- Pull the thread through the two guide at the left side, then thread the needle from right to left.
- Leave a tail of about 3 inches.
To bring up the bobbin thread, hold the top thread with your left hand. Turn the balance wheel towards you so the needle can move down and back up again. Tug the top thread slightly and you’ll see the bobbin thread will come up a little. Pull the thread towards the back and place both ends of the thread to the back of the presser foot. You’re ready to sew!
To start sewing, place your material under the presser foot then lower the presser foot. Press the pedal to start stitching.
Stitch Adjustments
On the main body of the machine, you can see a lever that allows you to set the length of the stitch. The numbers refer to stitches per inch. To adjust the length, loose the thumb nut and move the lever to the desired stitch length. You can lock it into position by tightening the thumb nut. You can put the machine into reverse by flipping the lever up as far as possible. It will have the same stitch length in reverse.
I hope these instructions have helped you get your sewing machine up and running! Happy sewing! ✨💜
