
I love to make these simple quilted coasters using scraps of fabric. They are a great way to use up leftover quilting cotton and batting after making a quilt (with the added benefit of the quilt draped across the couch matching the coasters on the coffee table).
The supplies are minimal for this project:
Supplies
- Fabric, two 5″ squares per coaster
- Batting, one 5″ square per coaster
- Thread
- Sewing machine
- Iron
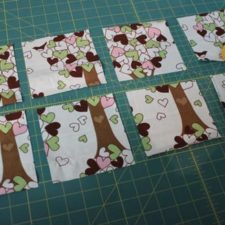 Cut out your batting into 5″x5″ squares; cut out one per coaster. Cut out your fabric into 5″x5″ squares, cutting two per coaster. (If you’d prefer to make the back and front different, go for it!)
- Layer the fabrics so that they are in the following order:
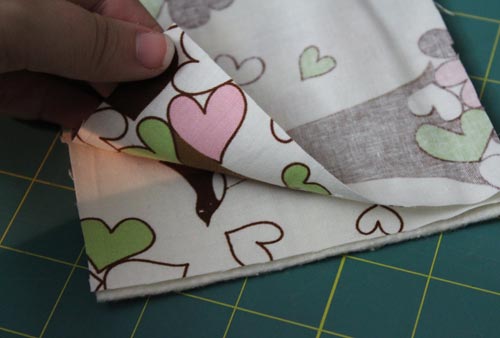
- Batting
- Fabric layer facing up
- Second fabric layer facing down
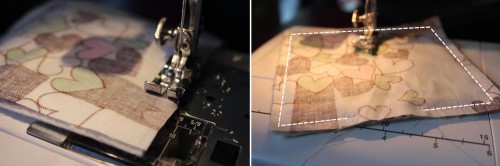
- Take the stack to your sewing machine and sew a 1/4″ seam around the edges, making sure to leave a gap. Start in the middle of one of the edges so that all four corners have a nice edge.
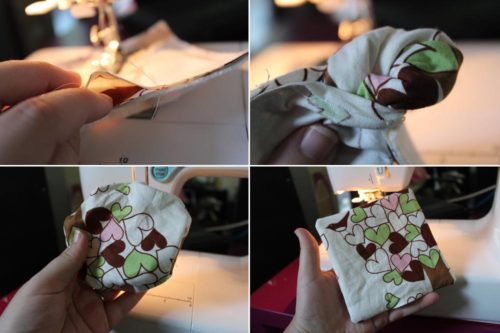
- This is the trickiest part of the project. You will need to flip the coaster right side out. Put your finger between the two fabric layers facing each other, and pull them outwards. Be sure to take the time to make the corners as pointy as possible.
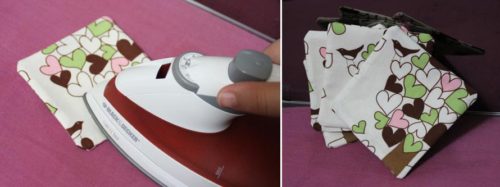
- Sometimes I’m lazy and skip this step, but ironing leads to the best results. Iron your coaster flat.
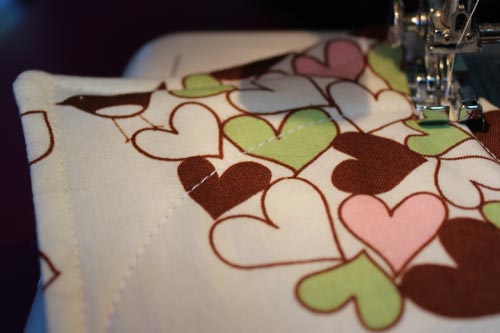
- This is my favourite step: top stitching and quilting!
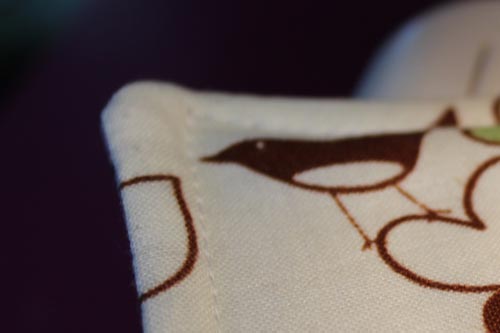 Typically, I topsitch 1/4″ from the edge of the coaster to make sure the coaster holds its shape over time. After that, I go wild, quilting whatever my heart desires. I’ve done things as simple as an X from corner to corner or evenly spaced stripes to quilted leaf patterns. My favourite, though, is to create curved lines across the top of the coaster.
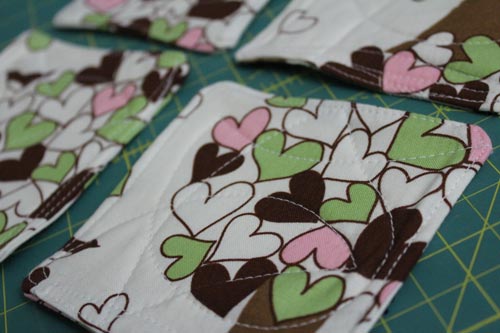
These coasters make great gifts!
1 thought on “Quilted Coaster Tutorial”